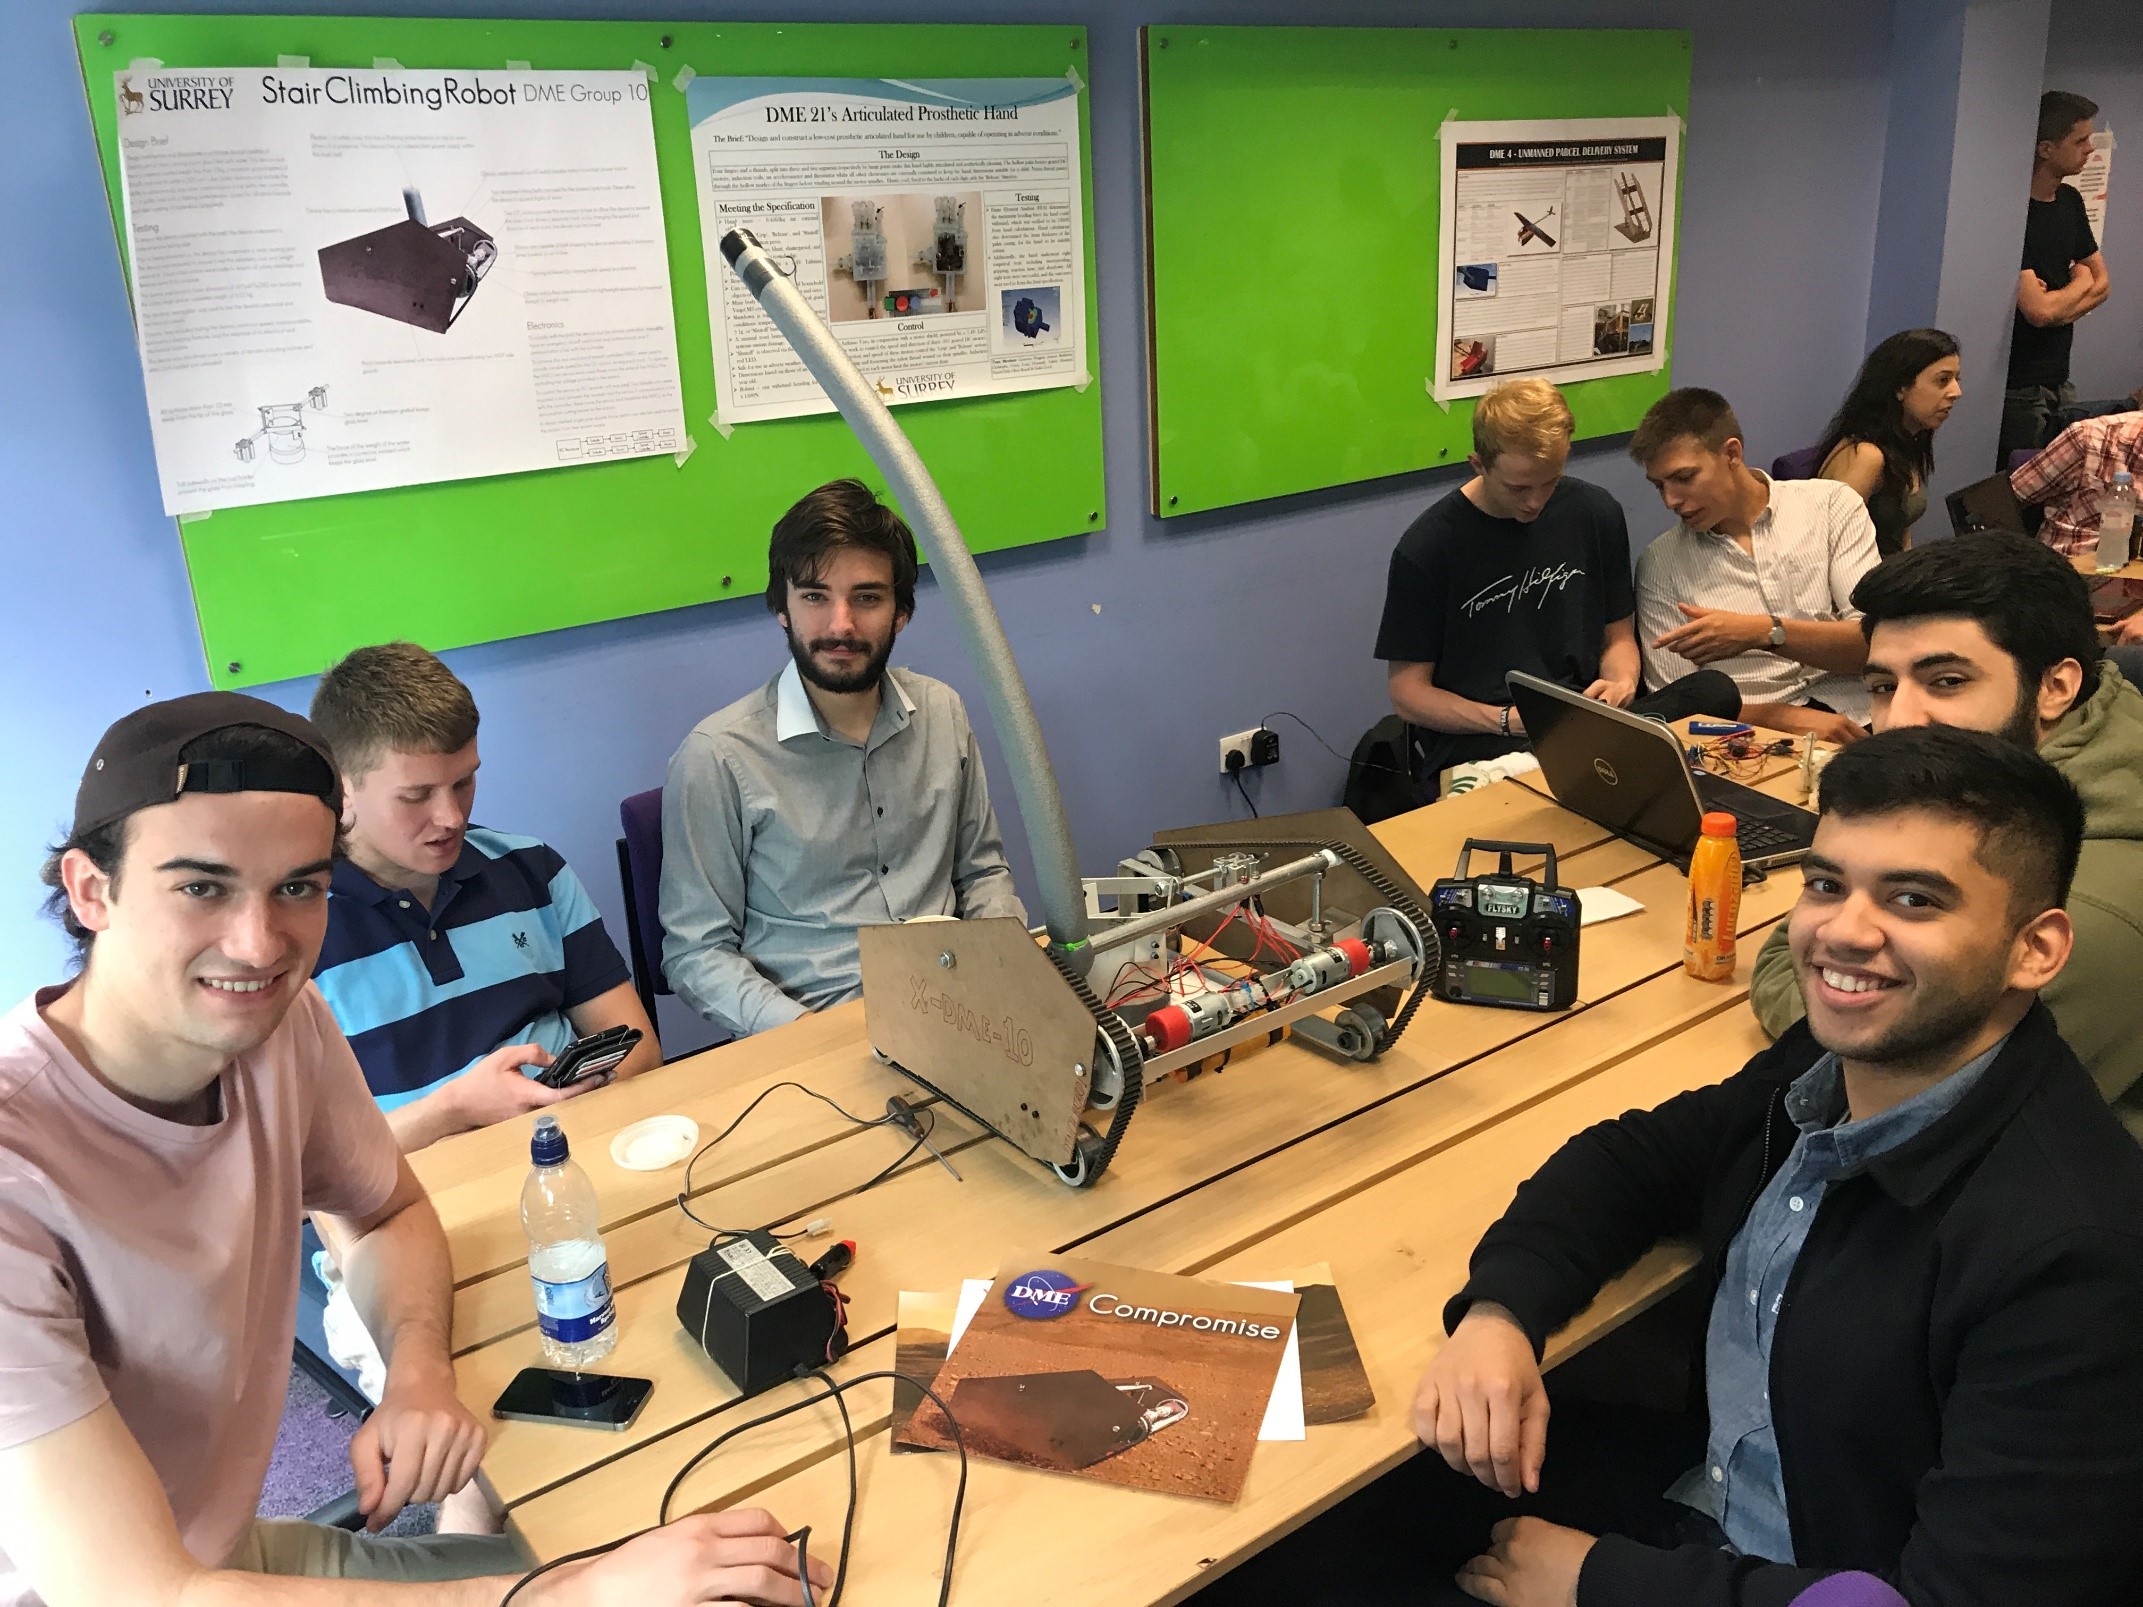
Hello there, quite cold these past few days had been, last night the temperature dropped to -3°C, layers season is here! For this week’s post I’ve decided to write about the highlight of my second (previous) year. We had the opportunity to engage in a group project to design a stair climbing vehicle! The project was challenging, took quite a lot of time and effort but it turned out to be one of the best experiences I had at university so far.
The project is a part of the second year module called Design Project and takes place along the two semesters. The aim of this project is to take students through a complete design process, from initial conceptual design all the way to manufacture and handover. Through this process the module provides the opportunity to apply analytical and practical skills acquired from other modules and develop key skills such as transferable skills, report writing, numerical and finite element analysis and much more!
We were allocated to a team randomly and each team is assigned to a supervisor, the supervisor’s task is to guide the team and ensure effective performance of the group. Some of our resources include:
- Access to Electrical Engineering labs for any circuitry work.
- A budget in GBP to purchase tools, components and consumables from wheels, batteries, motors, etc.
- A budget “shopbucks $” for the use any of the available machining tools such as CNC, 3D printer, lathe machine and drilling machine.
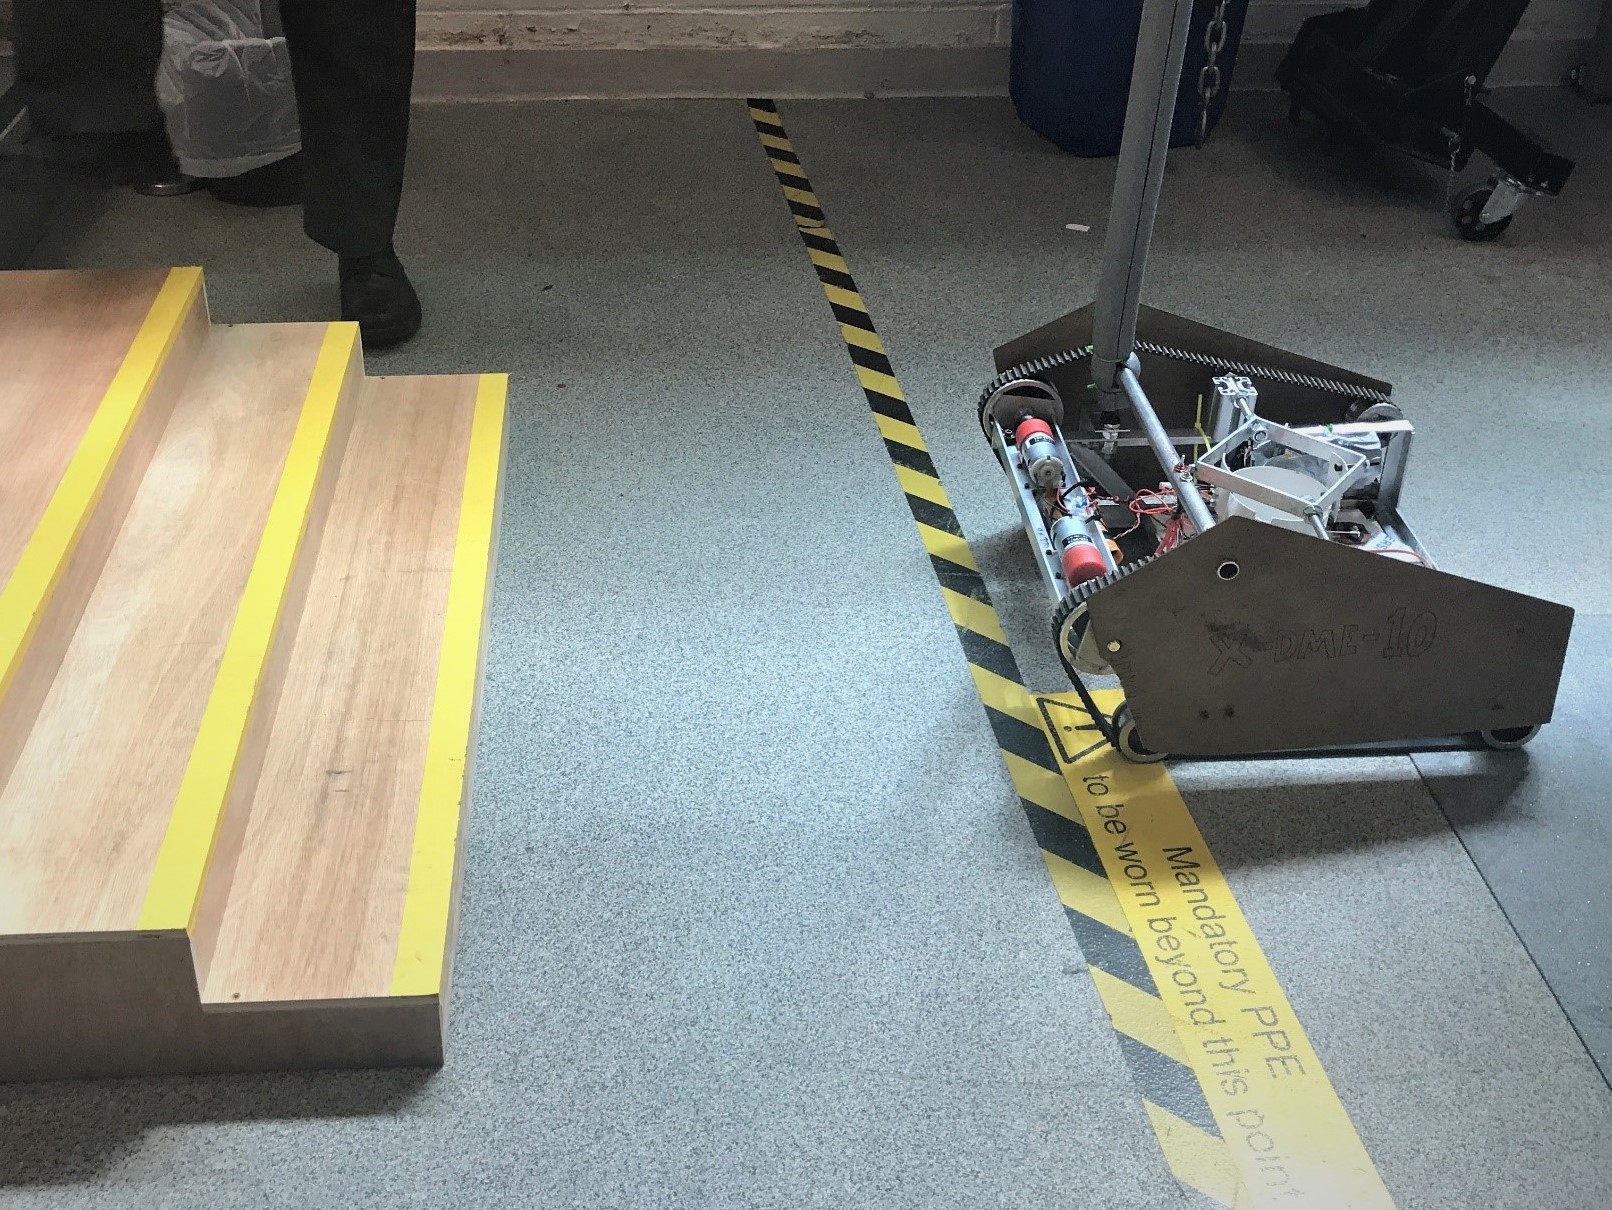
Our task was quite challenging, as Mechanical Engineers we had to design and construct a device capable of climbing and descending a flight of stairs while carrying pint glasses filled with water. That already sounds like an impossible task, at the least for me because I had no idea where to start! The task assigned depends on which course you do, so Aerospace Engineers had to make an unpowered parcel delivery system, Medical Engineers had to make a low-cost prosthetic articulated hand for use by children while Automotive Engineers were assigned to make a small-scale road vehicle.
Initial Thoughts
I recall my first thoughts being:
How on earth am I expected to actually build a robot that can climb stairs while balancing a cup of water!
I’m no expert in that stuff! My coding skills are mediocre, let alone my machining skills! But those were just my pessimist thoughts, as soon as I met up with my group mates, we started off by getting introduced to each other and getting familiar with everyone’s key skills, I for one was keen on report writing, time management and keeping technical specs in check. Other members had better skills at designing and machining parts. We divided roles between ourselves by assigning a team leader, production manager, design manager, machinist etc. to start and further allocated tasks accordingly.
Design Process
The design process starts off with establishing a detailed description of the task at hand to clarify all the aspects and simplifications needed before moving on to the conceptual development phase. This is agreed upon all the team members, and the more specific the criteria is, the more likely it is to be able to meet what the task asked for. So for example, you can ask questions like will this device be used for outdoor or indoor use? How long is the device expected to operate? etc.
Conceptual development stage is when the list of specs outlined in the previous stage comes to life in a form of an idea for a solution. No idea should be dismissed! Any idea can be helpful no matter how absurd/expensive/impossible it sounds because at the very least you can set a reasoning method for design ideas you would like to pursue.
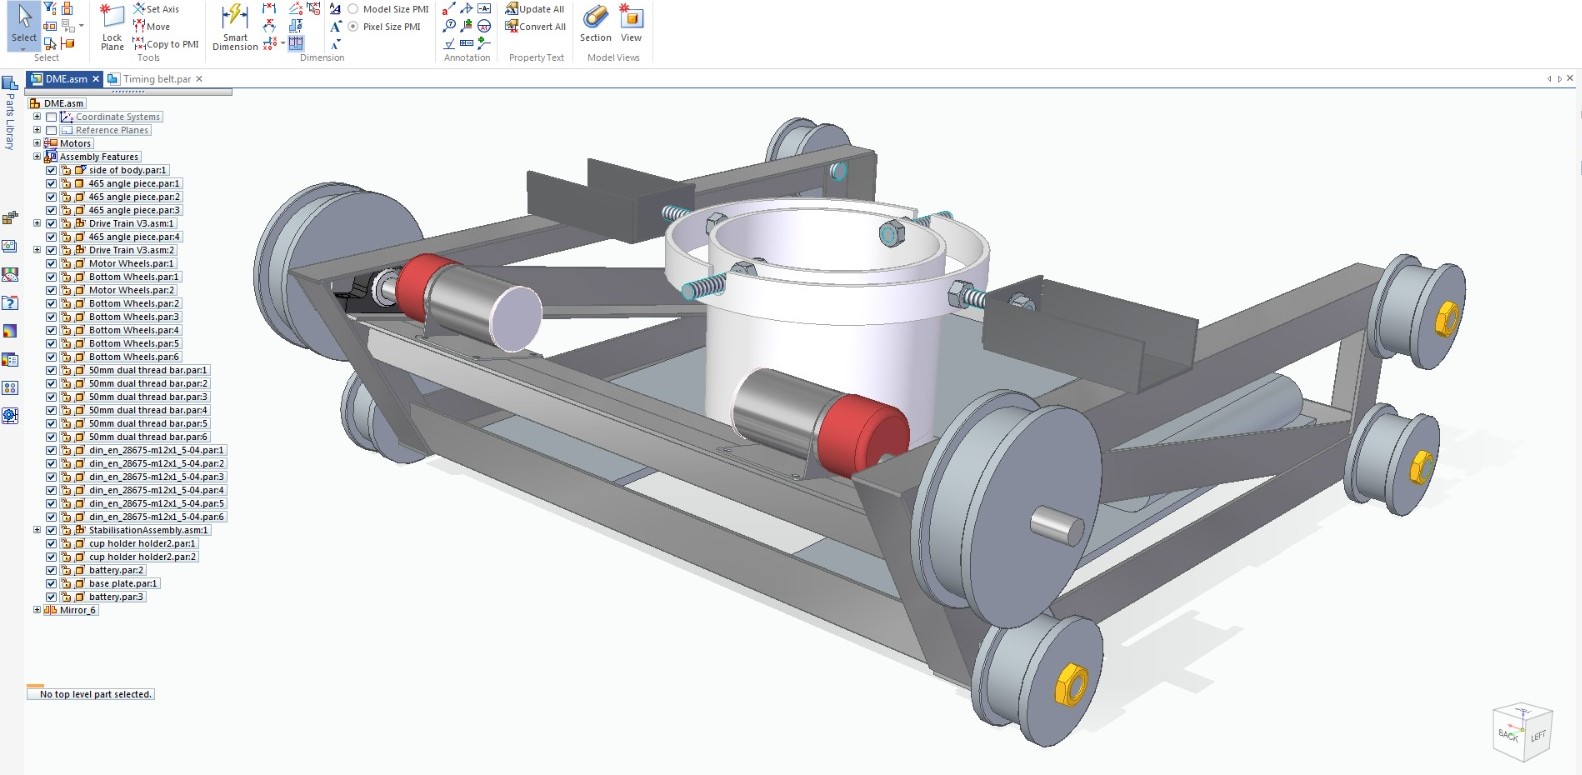
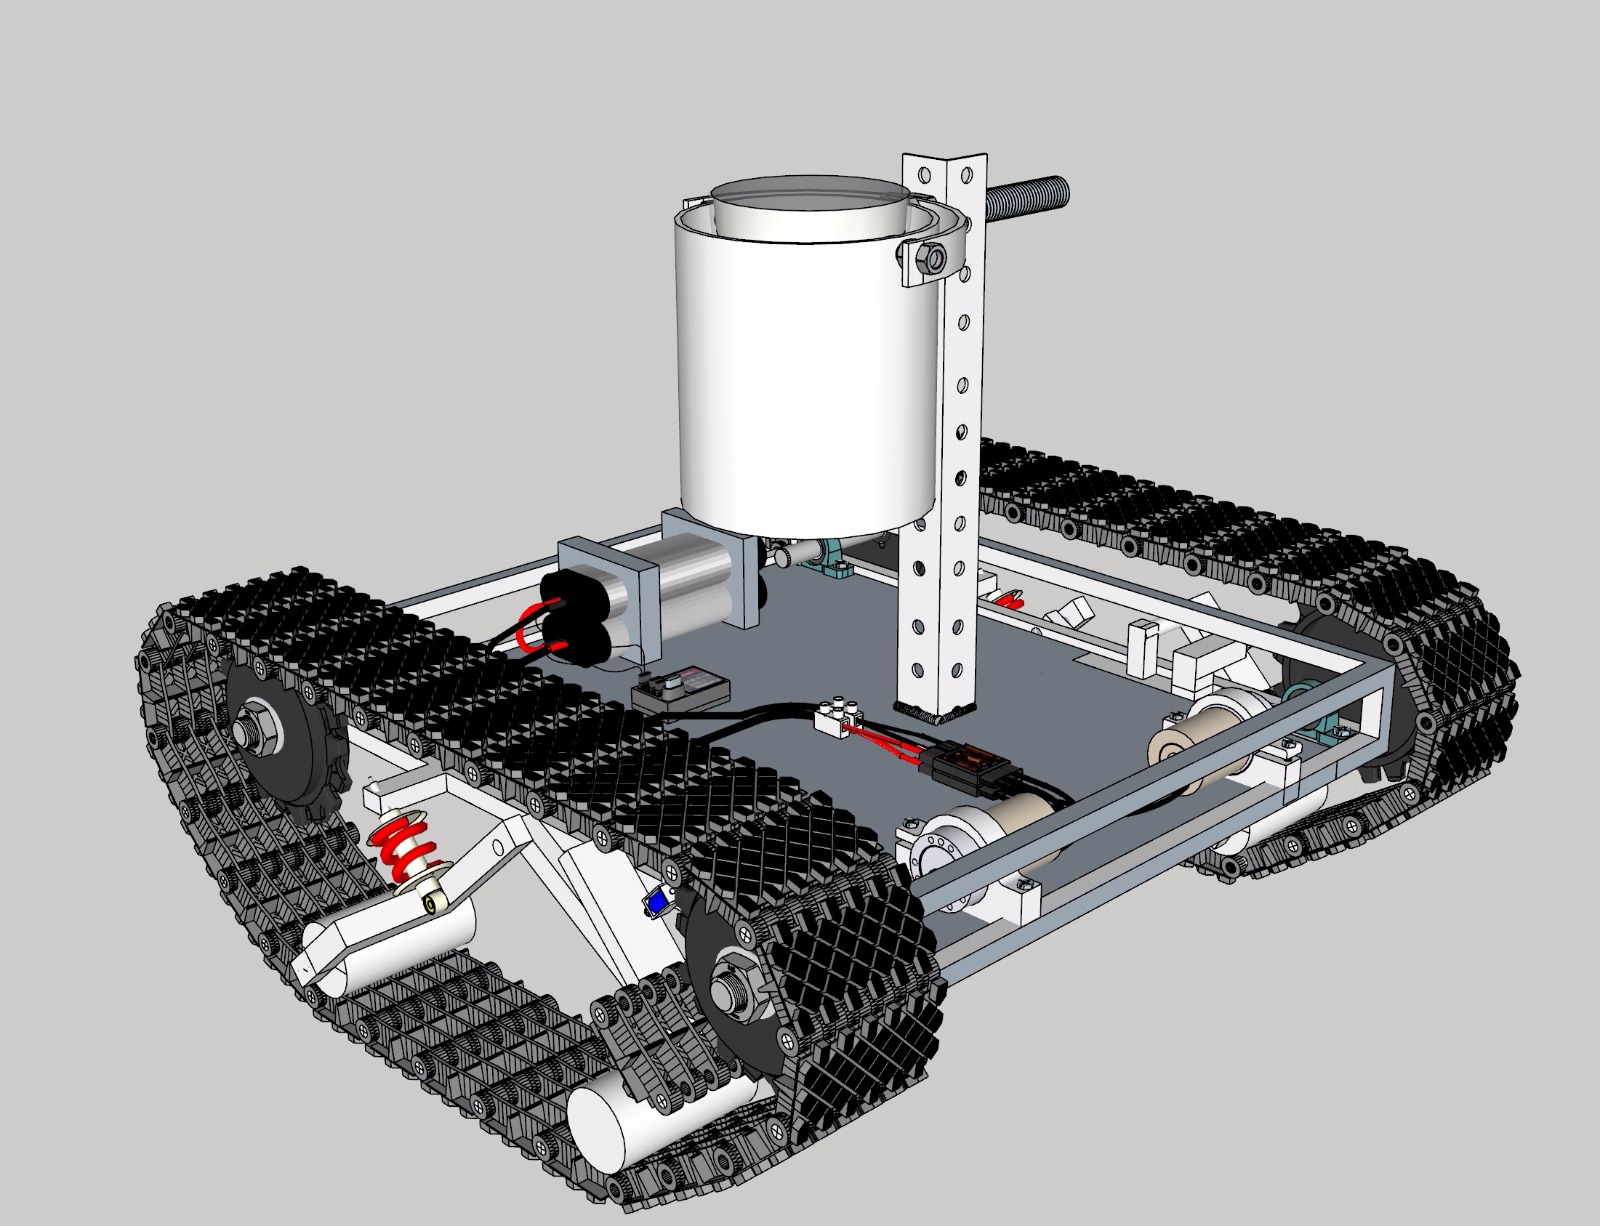
After selecting the concept the third stage is called Detailed Design is where the concept is analysed further, this includes drawing individual parts and adding dimensions to them. The parts are then tested in a simulation software for the loads the part is expected to hold to see how well each part can handle them! This certainly is a powerful tool as it saves a lot of time compared to physical tests which may not be available or accurate. Many ideas can be changed and altered at this stage to suit the specifications, this is very usual and is bound to happen multiple times throughout the project’s life cycle. This is also the stage where the parts are separated into parts that require online ordering and parts that require manufacturing. We as a group try to order essential parts as early as possible to avoid any delays during the assembly process.
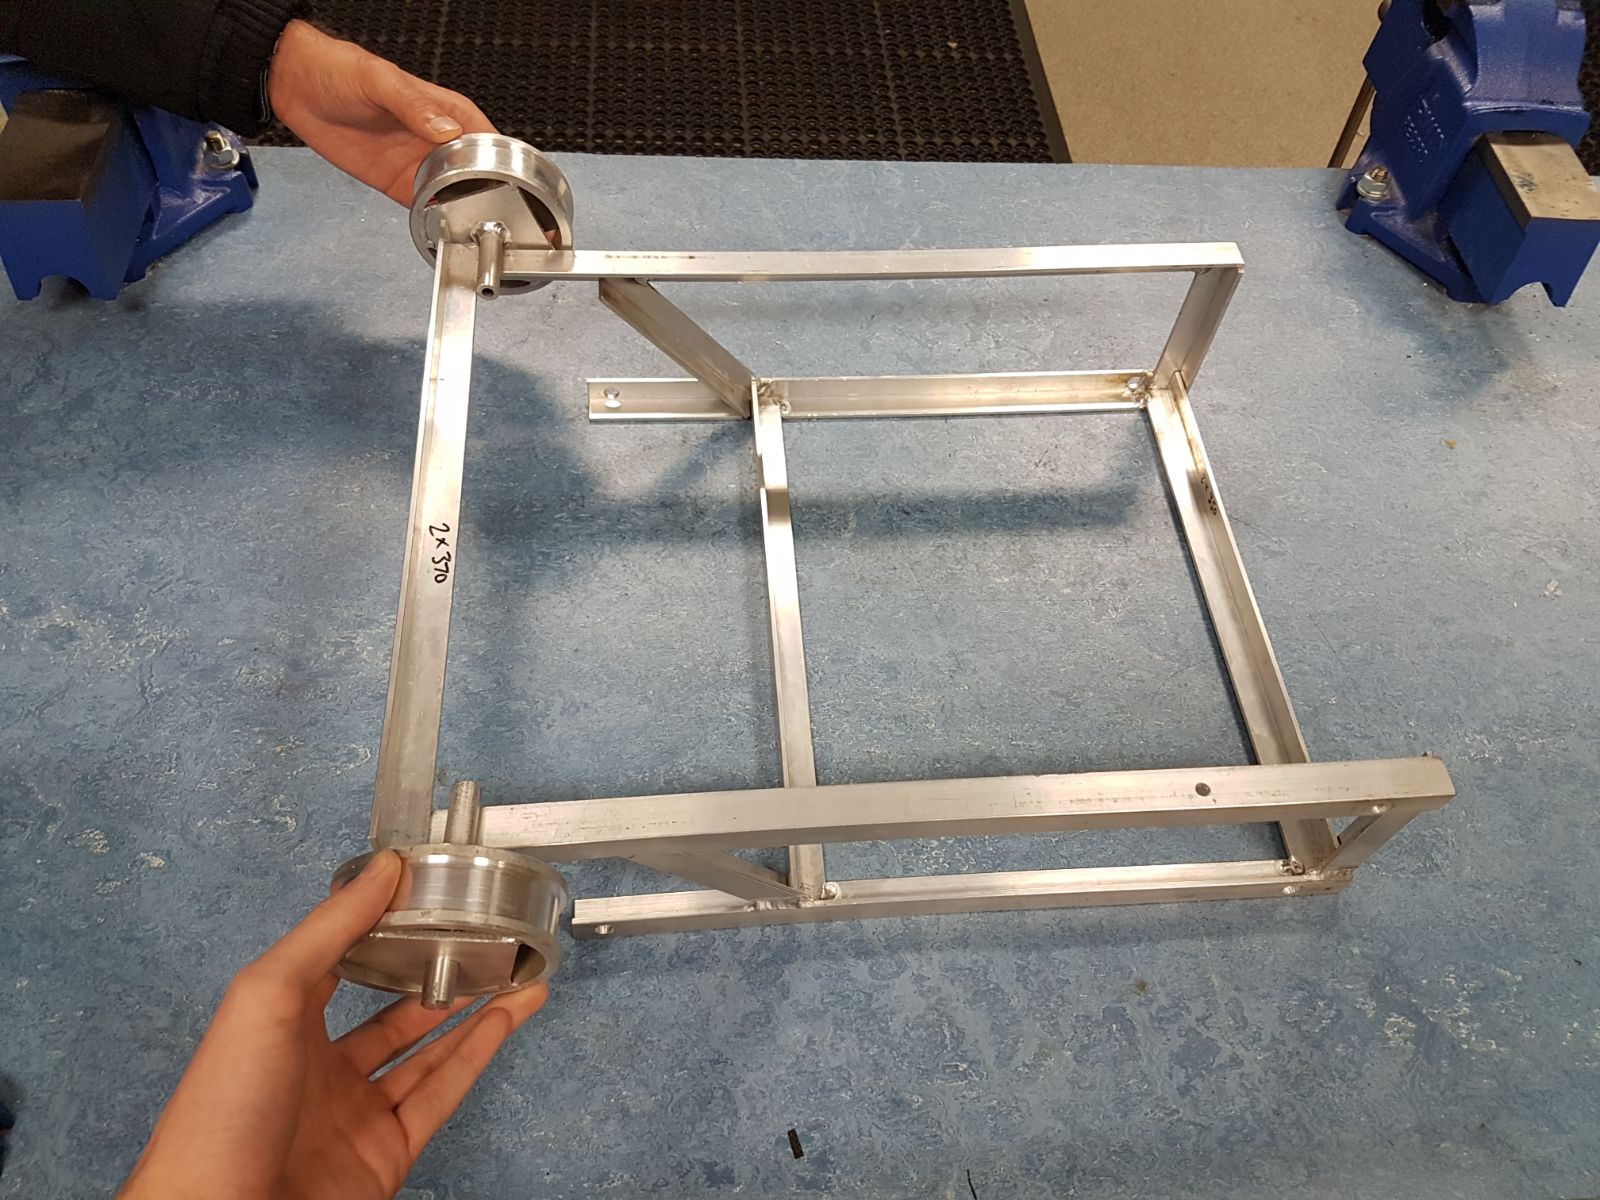
As the design is finalized, the parts that do require fabrication are sent to the workshop staff along with our machinists to ensure the part is made as required. Once the first ordered parts arrive, the assembly of any circuits initiates. This is a continuous process that requires proper coordination with the workshop staff as well as keeping track of the ordered items, after all we are tied to a deadline!
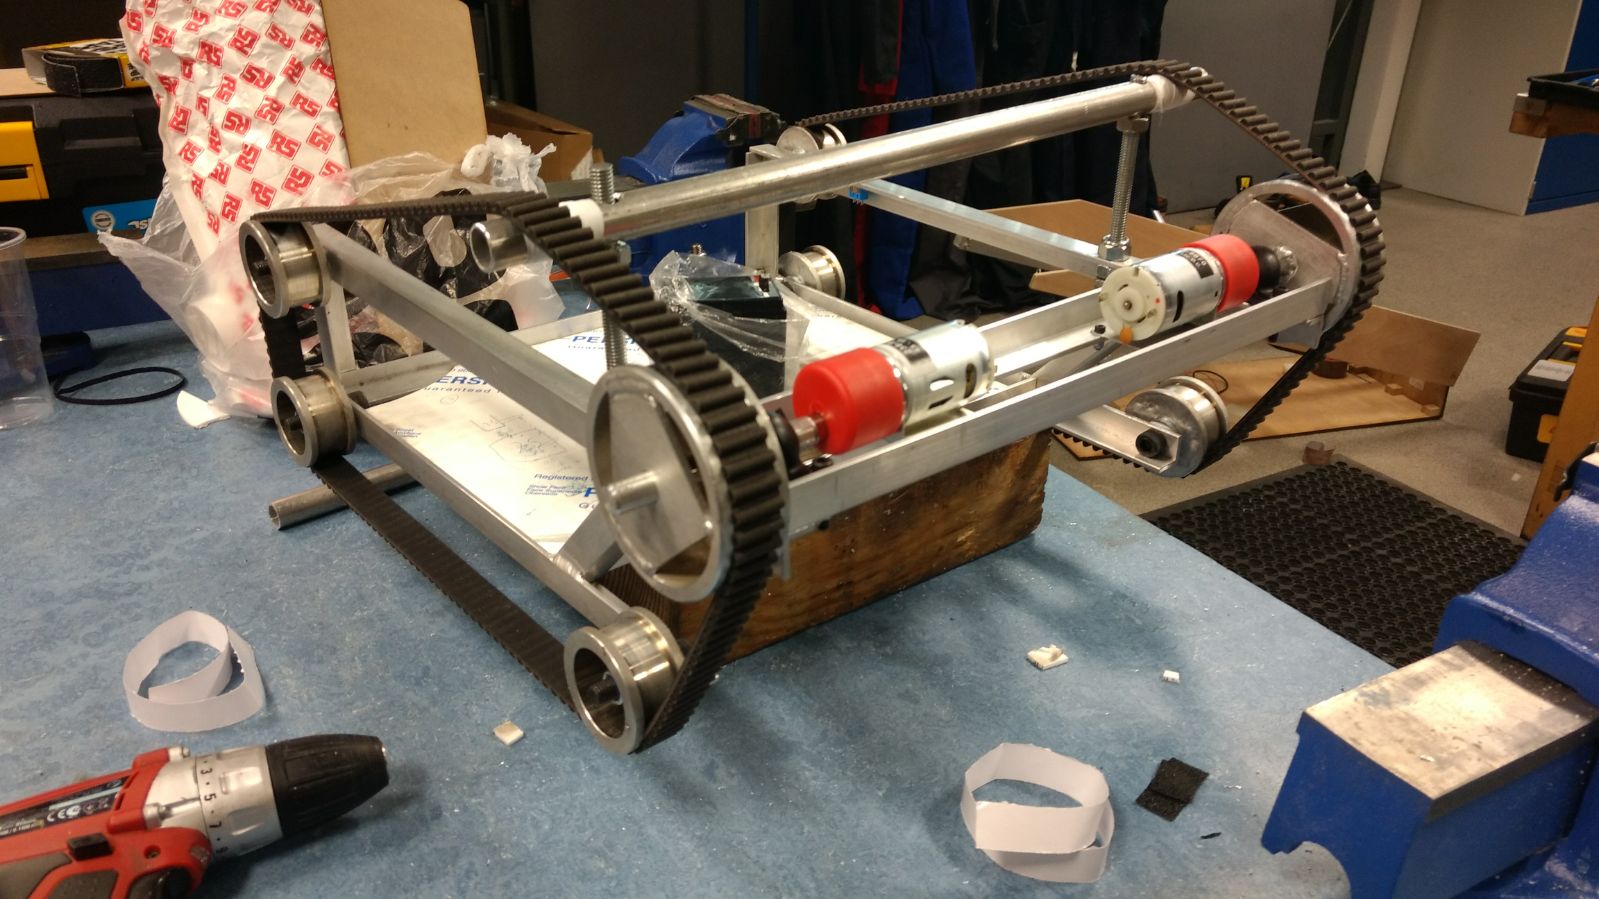
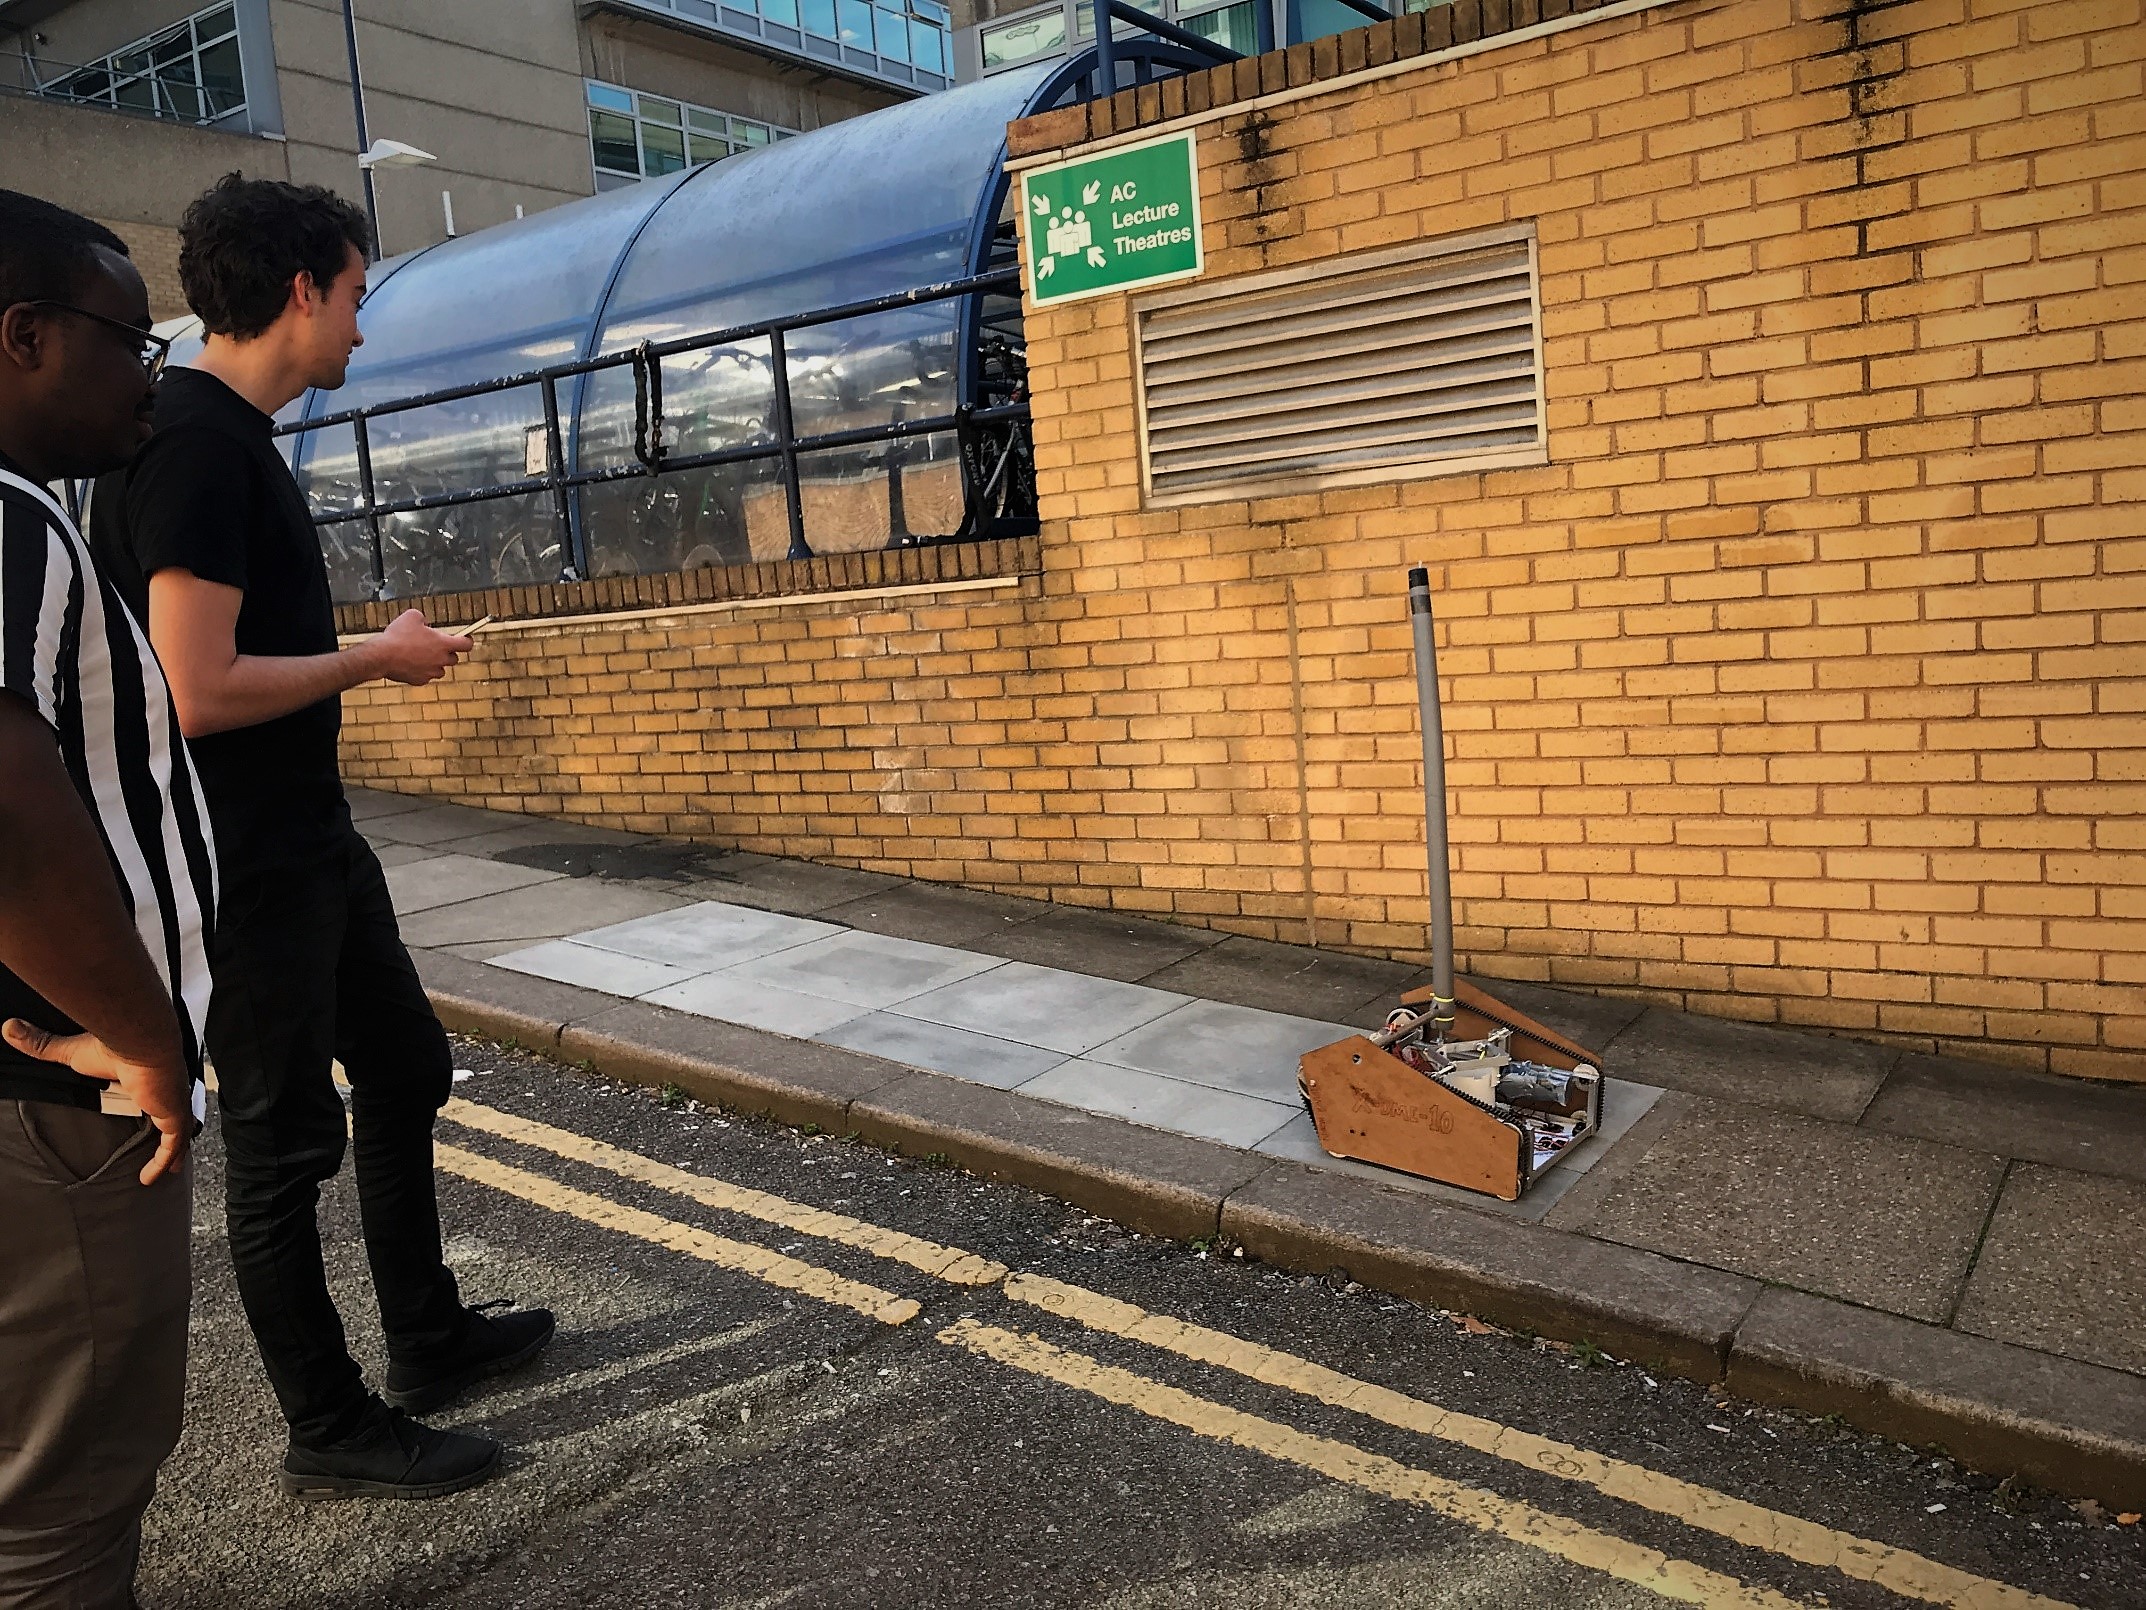
Following assembly comes the testing stage, this is the process where our assembled device is checked for its performance against several criteria, usually done in a form of questions: Is the device capable of moving up the stairs?, Is the device capable of balancing a cup of water? etc. and the performance of the device is noted as well to see how well it performs each of those tasks.
Final Remarks
As you progress you realize that you may actually enjoy doing a certain task that would not usually be my cup of tea. For instance, I always thought I was horrible at producing engineering drawings and getting all the dimensions correct, but I managed to learn a lot from my team mates who gave me short cuts and methods to make producing a drawing in software a rather easy task.
Rome wasn’t built in a day, neither did our stair climbing robot! It required a lot of work, patience and overcoming challenges but eventually the reward was a bigger understanding of the stages of an engineering project starting from a concept to reality.
See you next time,
Sakhar 😀