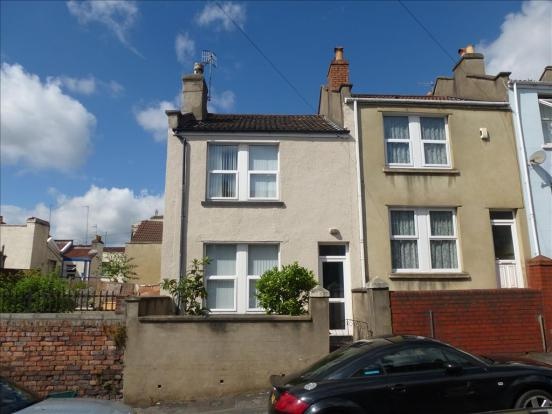
In this four part series of blogs, CES academic Dr Jonathan Chenoweth explores the trials and tribulations of bringing a 19th century terraced house up to a modern standard of insulation and comfort.
The first blog covers planning of the project, while the second explores insulating the walls.
Part 3: Insulating the floor
While an uninsulated house will lose the majority of heat through its walls and roof, a house with well-insulated walls and roof will lose the majority of heat through the floor if these are not also insulated. We decided therefore that we would insulate below the floor boards of the house, knowing that the existing floor was probably in poor condition and so when doing the insulation work we could deal with any problems we found.
Taking up the carpet we found that the floor boards had a bad case of woodworm, and taking up the boards, some of the floor joists below them were rotten. It seemed that in some places it was the carpet holding the floor together. Our plumber stepped through the floor accidently in one place after taking up the carpet.

The floor boards which fell apart when we tried to lift them or walk on them without carpet.
The reason for the poor state of the floor was the lack of ventilation under the floor. The floor joists were in places resting on the ground and generally the gap between the ground and the floor joints was so small that air could not circulate. Worryingly, we discovered that the brick wall separating the living room from the hallway was laid on the floor boards, so if the rot became too extensive, it risked collapse. Just lifting some of the floor boards caused them to fall apart, so we realised that we needed a new floor. While I might have taken on the task of replacing a few floor boards and maybe even a floor joist, replacing the joists holding up a brick wall was not something I was willing to take on, so we got a builder in to completely replace the downstairs floor. While we had full access to below the floor, we decided to dig out the space underneath to improve ventilation so the new floor wouldn’t eventually rot.
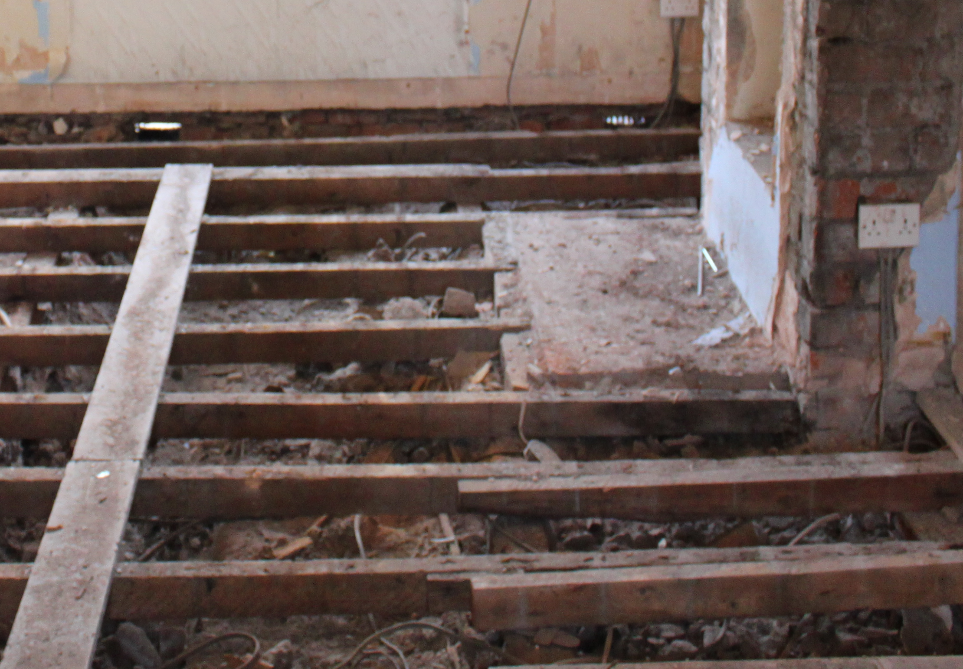
The original down stair floor joists after we had taken up the boards. The gap between the floor and ground was such that air could not circulate so moisture couldn’t escape, so borer and rot had gradually weakened everything.
While we had all the underfloor accessible we got a plumber in to move all the radiators that were under windows. It seemed silly to have radiators pumping out heat right below what would be the worst insulated bits of the house, the windows, with curtains sitting over the radiators to channel the heat directly up towards the glass. We also insulated all the heating pipes, wrapping each pipe in pipe lagging foam and then a thick layer of pipe insulation tape. Thin 15mm heating pipes suddenly became fat 60mm pipes but being below the floor the size didn’t matter.
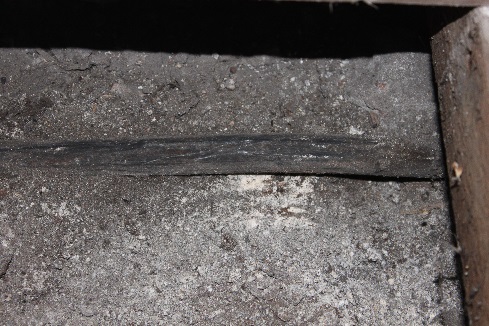
The original lead water pipe supplying the house.
When we took up the floor boards we found the water pipe supplying water to the house. It was the original lead pipe – a dull grey pipe which you could scratch with your finger nail. It was soft and bendable. While it appeared to be in okay condition, it clearly had to go – lead is toxic. As we discovered while digging out space under the floor for improved ventilation, when my partner knocked the pipe, a pin hole leak stated, so it was actually rather fragile. (A very gentle tap with a hammer stopped the leak.) We got it replaced with a modern plastic pipe, running from our water meter. As we were replacing our pipe, the water company was then obliged to replace the lead pipe from the distribution mains to our meter to ensure everything was lead free.
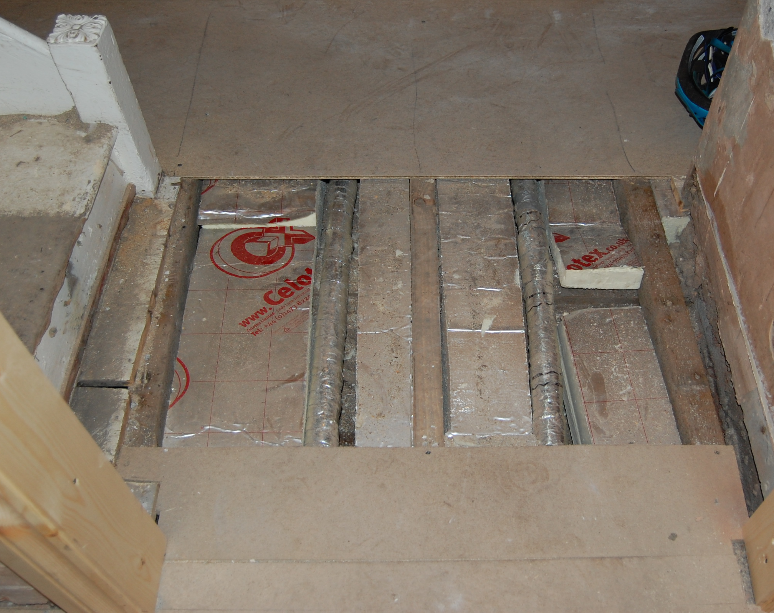
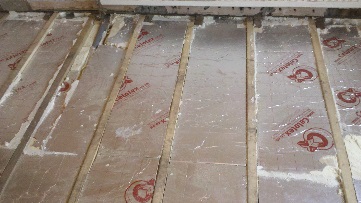
The under floor insulation as installed by our builder – the air gaps around the PIR boards meant that it would have been nearly useless.
The builder who we got to replace the floor insisted that he would have to also do the underfloor insulation as part of the same job. This would involve putting 11cm PIR insulation panels between the floor joists below the floor boards. When we visited the house at the end of the week and lifted some of the new floor boards, I found gaps big enough to put my hand between the insulation panels and the joists. Obviously they should have been tight fitted so no air could circulate from below the insulation to above. We lifted all the floor boards and spent the weekend filling in all the gaps with expanding polyurethane foam and additional pieces of insulation. It took the two of us a full day to fix the problem. At the end of the weekend the floor was tightly insulated and the boards back in place.
The under floor once we had re-done the insulation installation – all the gaps were filled so air could not circulate around the panels.
Part 1 – Planning the Eco-Renovation
Part 4 – Insulating the ceiling & installing a Mechanical Heat Recovery Ventilation System